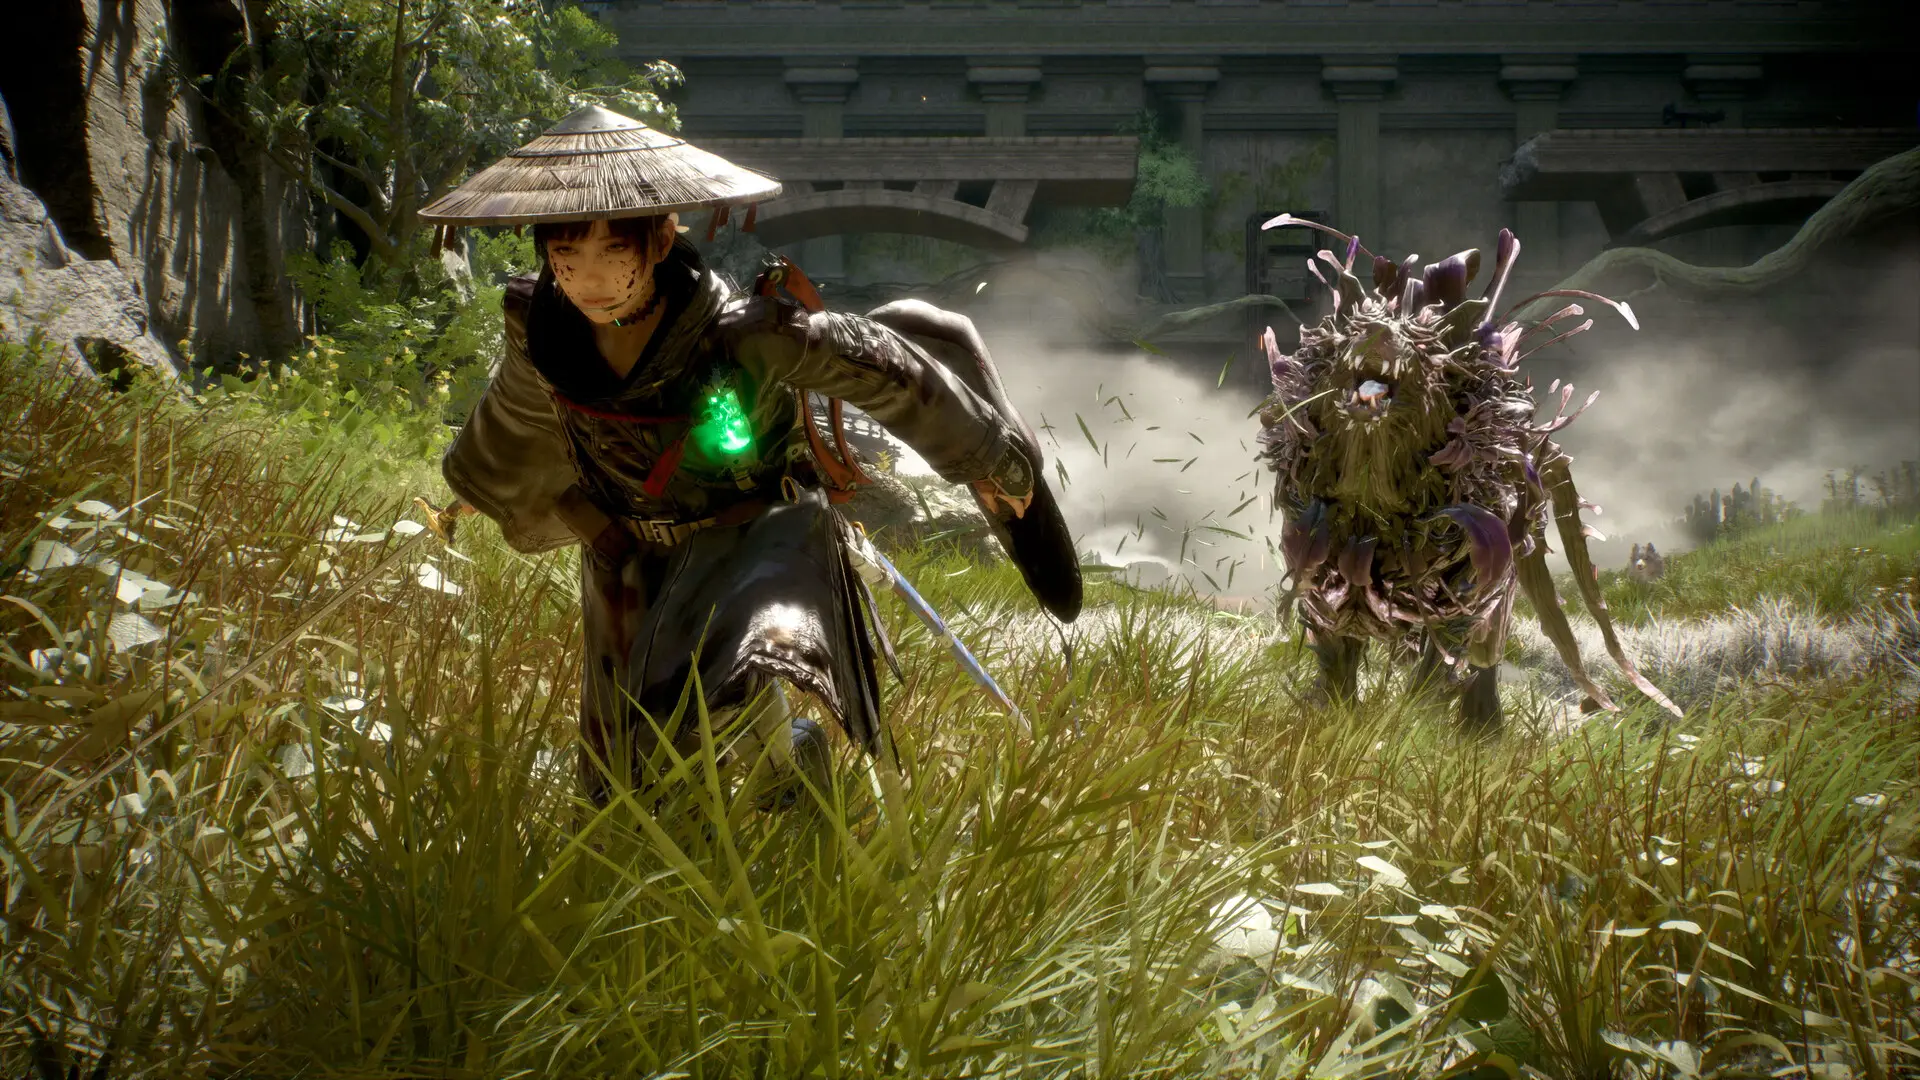
How to Beat Ursa in Beast of Reincarnation
Learn how to beat Ursa in Beast of Reincarnation, including its acid weakness, phase one parry counters, and phase two vine strategy.
Short answer
Ursa is weak to Acid: use Corrosives, Acid Arrows, or a Bottle of Acid. Melee weapons let you parry its multi-swipe combo and stay in punish range; dodge lunge, rock throws, stomp, and vine bloom. Empty its first health bar triggers phase two, same tells plus blue-flower vines—keep punishing until the Lethal prompt.
What is Ursa’s weakness and how do you exploit it?
Ursa is weak to Acid. Use Corrosives, Acid Arrows, or a Bottle of Acid for Koo to soften it up. Restrain effects lock it down, creating safe damage windows.
How should you prepare Koo for the Ursa fight?
Put points into Strength and Vitality first — that unlocks most of Koo’s core skills while raising his damage and survivability. Then invest in Florescence, which raises Skill Power and directly scales Bloom Art damage and effect strength.
For charms, equip pure damage:
| Charm | Effect |
|---|---|
| Attack Charm | Raises damage |
| Skill Charm | Raises skill damage |
| Critical Charm | Raises critical rate |
Enemies scale fast through the story, so Koo’s damage has to keep pace or he degrades into a stagger-only tool. Swap to Experience or Lucky charms only while grinding levels and Ambers.
How do you parry Ursa’s attacks effectively?
Parrying works on every boss in the game, including Ursa. Press Guard as the attack closes in — the window is longer than in comparable games, so it is more forgiving.
Unparryable attacks show a red glint during the wind-up animation. When you see the red flash, dodge instead of guarding; a perfect dodge against an unparryable attack opens a counter window.
Successful parries are the main source of Koo’s Florescence Points (FP), which power his Bloom Arts. Parry into FP into Bloom Art is the rhythmic backbone of every encounter.
Note: Patch 1.0.7 adjusted the parry window while Emma is in a hit state. The patch notes do not say whether it was widened or narrowed — only that it changed.
What are Ursa’s phase one moves and how do you counter each?
| Move | Counter | Notes |
|---|---|---|
| Multi-swipe combo | Parry | The easiest parry window in the fight, and it feeds Koo’s techniques |
| Leaping lunge | Dodge | |
| Rock throws | Dodge | |
| Stomp | Dodge | |
| Vine bloom | Dodge |
What changes in Ursa’s second phase and how do you handle it?
Emptying the first health bar triggers a transformation into a blooming flower form with a completely fresh health bar.
Phase two uses the same tells with more damage. Every ground strike grows a blue-flower vine that crowds the arena. Keep the punish-after-attack rhythm until the Lethal prompt appears.
Which weapon should you use against Ursa?
Melee weapons work best because you can parry the flurry and stay in punish range. A bow or crossbow still helps chip from a distance.
Fact integrity
- Entities referenced
- 3
- Independent sources
- 12
- Avg confidence
- 0.77
- Disputed facts
- 0
Evidence and verification
Every claim in this guide traces to one of the rows below. Each row states the exact build it was checked against and links the source it came from.
| Claim | Build | Status | Source |
|---|---|---|---|
| Koo Attribute priority Put points into Strength and Vitality first → Unlocks most of Koo's core skills while raising his damage and survivability. · Then invest in Florescence → Raises Skill Power, which directly scales Bloom Art damage and effect strength. | v1.0.7 | Sourced 0.75 | game8.co |
| Koo Best charms Attack Charm → Raises damage · Skill Charm → Raises skill damage · Critical Charm → Raises critical rate | v1.0.7 | Sourced 0.75 | game8.co |
| Koo Bloom art categories fire damage · crowd control · aerial launch · poison · multi-target | v1.0.7 | Sourced 0.75 | dtgre.com |
| Koo Higanbana seeds A Bloom Art available from the start. It builds stagger efficiently and carries the early boss fights. | v1.0.7 | Sourced 0.75 | game8.co |
| Koo Resource Florescence Points (FP), earned mainly from Emma's successful parries. | v1.0.7 | Sourced 0.75 | dtgre.com |
| Koo Restraint arts Restraint Bloom Arts pin enemies in place, which is invaluable against fast Malefacts. Higanbana Roots binds up to three enemies in group fights. | v1.0.7 | Sourced 0.75 | dtgre.com |
| Koo Skill point acquisition Each enemy killed awards a Skill Point, and Koo levels up alongside Emma through story progress and combat. | v1.0.7 | Corroborated 0.80 | gamingbolt.com screenrant.com |
| Koo Skill point farming Find a Campsite with a small group of low-level enemies nearby → Resting at a Campsite instantly respawns them, so the same group can be cleared repeatedly. · Clear the group, then Rest at the Campsite to reset it → Each kill awards a Skill Point, so a tight respawn loop compounds quickly. · Use the Ruins: Outskirts fast travel point in the Matsukawa Zone of the Mountainous Region → A spawn of four rodent enemies sits within firing distance of the Campsite. | v1.0.7 | Sourced 0.75 | gamingbolt.com |
| Koo Skill point pool Koo's skill tree and attributes are entirely separate from Emma's, but the skill points themselves come from one shared pool — spending on Koo means not spending on Emma. | v1.0.7 | Corroborated 0.80 | screenrant.com oslink.io |
| Parry Fp generation Successful parries are the main source of Koo's Florescence Points (FP), which power his Bloom Arts. | v1.0.7 | Sourced 0.75 | dtgre.com |
| Parry Input Press Guard as the attack closes in. The window is longer than in comparable games, so it is more forgiving. | v1.0.7 | Corroborated 0.80 | allthings.how sportskeeda.com |
| Parry Patch 1 0 7 change Patch 1.0.7 adjusted the parry window while Emma is in a hit state. The notes do not say whether it was widened or narrowed. | v1.0.7 | Corroborated 0.98 | steamcommunity.com thegamer.com dsogaming.com noisypixel.net |
| Parry Unparryable tell Unparryable attacks show a red glint during the wind-up animation. When you see the red flash, dodge instead of guarding. | v1.0.7 | Corroborated 0.80 | allthings.how beastofreincarnation.wiki.fextralife.com |
| Parry Works on all bosses Parrying works on every boss in the game. | v1.0.7 | Sourced 0.75 | allthings.how |
| Ursa Elemental weakness Acid. Corrosives, Acid Arrows, or a Bottle of Acid for Koo soften it. Restrain effects lock it down for safe damage windows. | v1.0.7 | Corroborated 0.80 | allthings.how sportskeeda.com |
| Ursa Location and level Fought in the Starfall Tower Zone of the Wasteland Region at boss level 46, capping Chapter 10. | v1.0.7 | Sourced 0.75 | allthings.how |
| Ursa Move responses multi-swipe combo → parry (The easiest parry window in the fight, and it feeds Koo's techniques.) · leaping lunge → dodge · rock throws → dodge · stomp → dodge · vine bloom → dodge | v1.0.7 | Sourced 0.75 | allthings.how |
| Ursa Phase transition Emptying the first health bar triggers a transformation into a blooming flower form with a completely fresh health bar. | v1.0.7 | Sourced 0.75 | allthings.how |
| Ursa Phase two behavior Phase two uses the same tells with more damage. Every ground strike grows a blue-flower vine that crowds the arena. Keep the punish-after-attack rhythm until the Lethal prompt appears. | v1.0.7 | Sourced 0.75 | allthings.how |
| Ursa Weapon choice Melee weapons work best because you can parry the flurry and stay in punish range. A bow or crossbow still helps chip from a distance. | v1.0.7 | Sourced 0.75 | allthings.how |